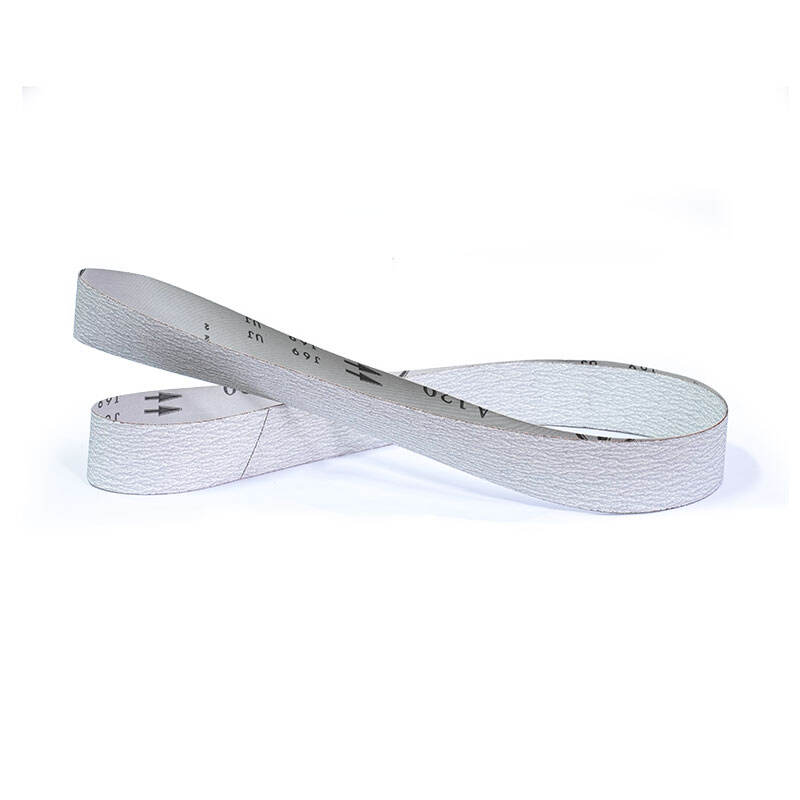
There are many very helpful tools when working with wood. They help to flatten rough surfaces so that the wood looks good and is pleasant to the touch. The reason you need to know about sanding belts and how they function is because the better the knowledge of sanding belts and how they work, the better you will be able to get a really nice finish on your woodworking. In this article, we will see some of its application. The first topic we will be using a Sanding Belt to smoothen wood. Next we want to explore how to make fast changes on the wood surface. We will also learn how to maximize your sander and the methods of selecting the best sanding belts. Last but not least, we will explain why a sanding belt is one of the only tools in woodworking that make sense. The main brand which I have found that makes decent sanding belts is Aimchamp.
When sanding your wood with a J659 Flexible Sanding Belt, it is crucial to select the correct grit size. Belt Grit — the roughness of the sandpaper on the belt. Lower grit size will remove bumps and roughness from the wood quickly for a quicker smooth outcome. Bigger grit size will however tend to make the surface more smooth for longer time. When you choose the appropriate grit size for a workpiece, it is time to start sanding.
Using the sander, drag it back and forth parallel to the wood grain. The grain is the natural pattern of the wood, and sanding in this direction keeps the surface even and smooth. Note you should keep light pressure on sandpaper; you don’t what to press most of the sandpaper work. Once you have run the sander over the surface a few times, you can stop and check the smoothness of the wood. If it is still not going smoothly enough, no need to panic. Keep repeating the sandpaper process until you are happy with how it feels/looks.
One way in which a sanding belt can be very helpful is to aid in correcting flaws on wood surfaces. In some cases, you may see a stain, or an old layer of finish on the wood, that you want to remove. That’s where a S998 Ceramic Sanding Belt comes in handy. Begin with a low grit sanding belt. This grit size will, therefore, be effective in removing the stain or old finish. Sand back and forth over the stained area until the stain is no longer visible. Then you could use a higher grit sanding belt to polish the external appearance.
In order to achieve the best possible results with a sanding belt, it is important to select a sanding belt that is designed specifically for use with your particular sander. Remember, not all sanders fit all sanding belts, so make sure you check your sander details before buying a sanding belt. Take notes of the dimensions of the belt such as its length and width, the grit size, and what abrasive is on the belt.
Sandbelts are indeed indispensable tools in woodwork. Each grit serves a specific purpose and you may need different grit grades for different tasks to achieve desired results. Sanding belts can help eliminate old finishes and defects, contour rough surfaces, and leave the wood with that finished professional appearance. These sanding belts had to be present in every woodworker's tool kit so that they would be prepared to handle any project.
If you are working on a rough surface like new wood, it can be difficult to obtain a polish of shine. Those rough surfaces can easily be turned into shiny, smooth surfaces with sanding belts. Start with a low grit sanding belt and continue to a high grit to polish. Make sure to sand back and forth in the direction of the wood grain, using light pressure. This will be a good thing since you don't want to damage the wood surface.

 EN
EN
 AR
AR BG
BG HR
HR CS
CS DA
DA NL
NL FI
FI FR
FR DE
DE EL
EL HI
HI IT
IT JA
JA KO
KO NO
NO PL
PL PT
PT RO
RO RU
RU ES
ES SV
SV TL
TL IW
IW ID
ID SR
SR ET
ET MT
MT TH
TH TR
TR FA
FA AF
AF MS
MS GA
GA CY
CY MK
MK EU
EU KA
KA LA
LA NE
NE